ReplayWeb for Embedding Social Media Posts (Twitter, Mastodon) in Web Pages
If you have been following social media news, you know that Twitter is having its issues.
Although there is still a bit to go before it goes away (or, more likely, puts up a paywall to view tweets), it seems prudent to save Twitter content so it can be viewed later.
Most people do this with a screenshot of a tweet, but that doesn't capture the fidelity of the Twitter experience.
Ed Summers pointed out a recent article from the Associated Press that embedded a functional archive of a tweet. (Scroll down nearly to the end of the article.)
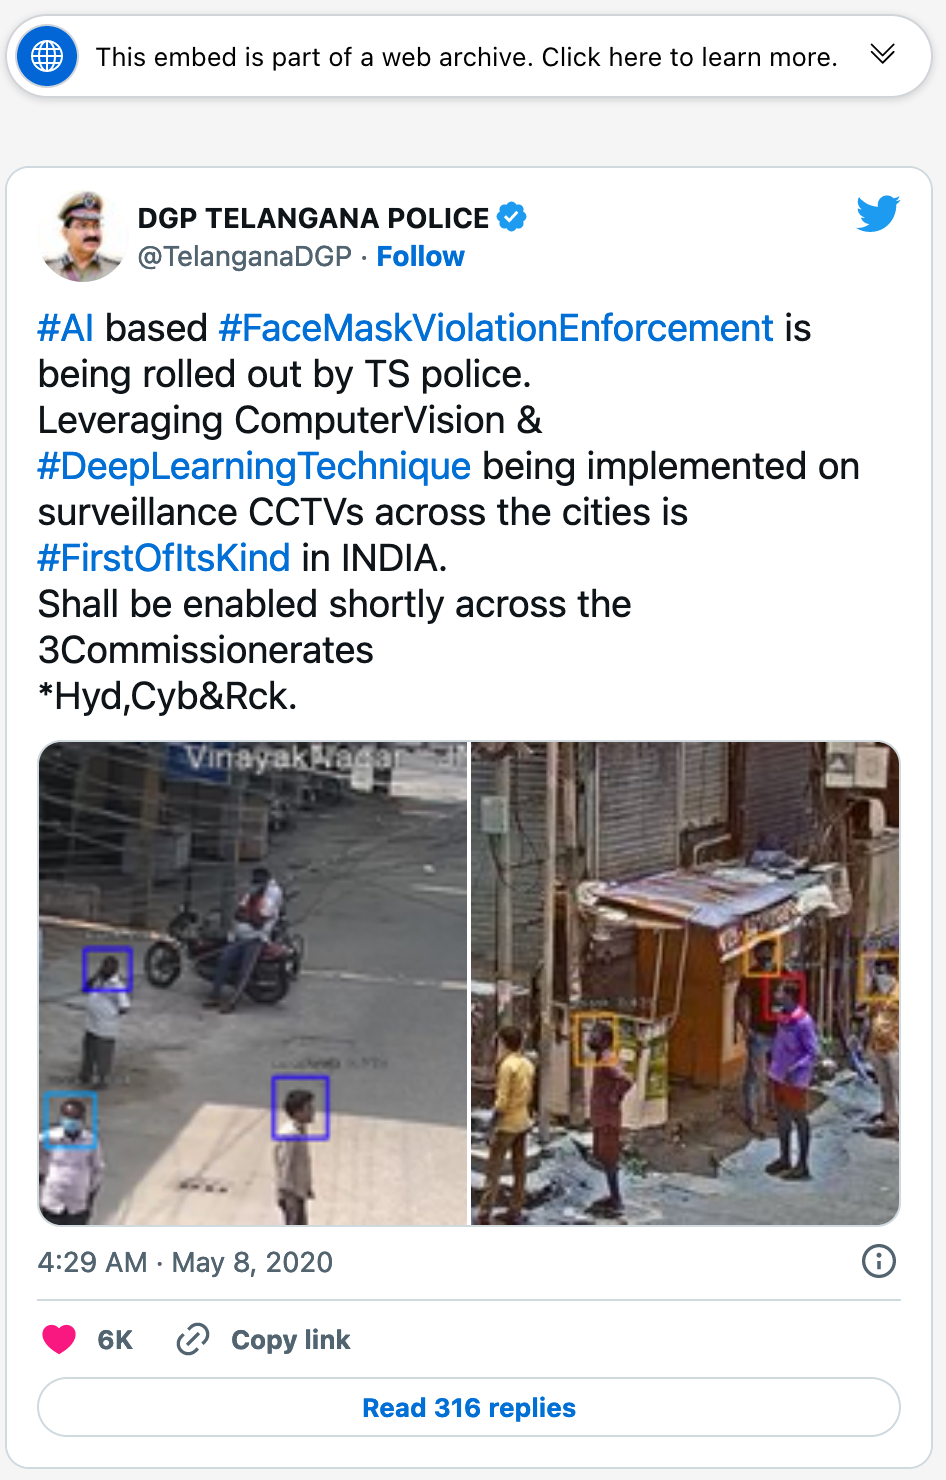
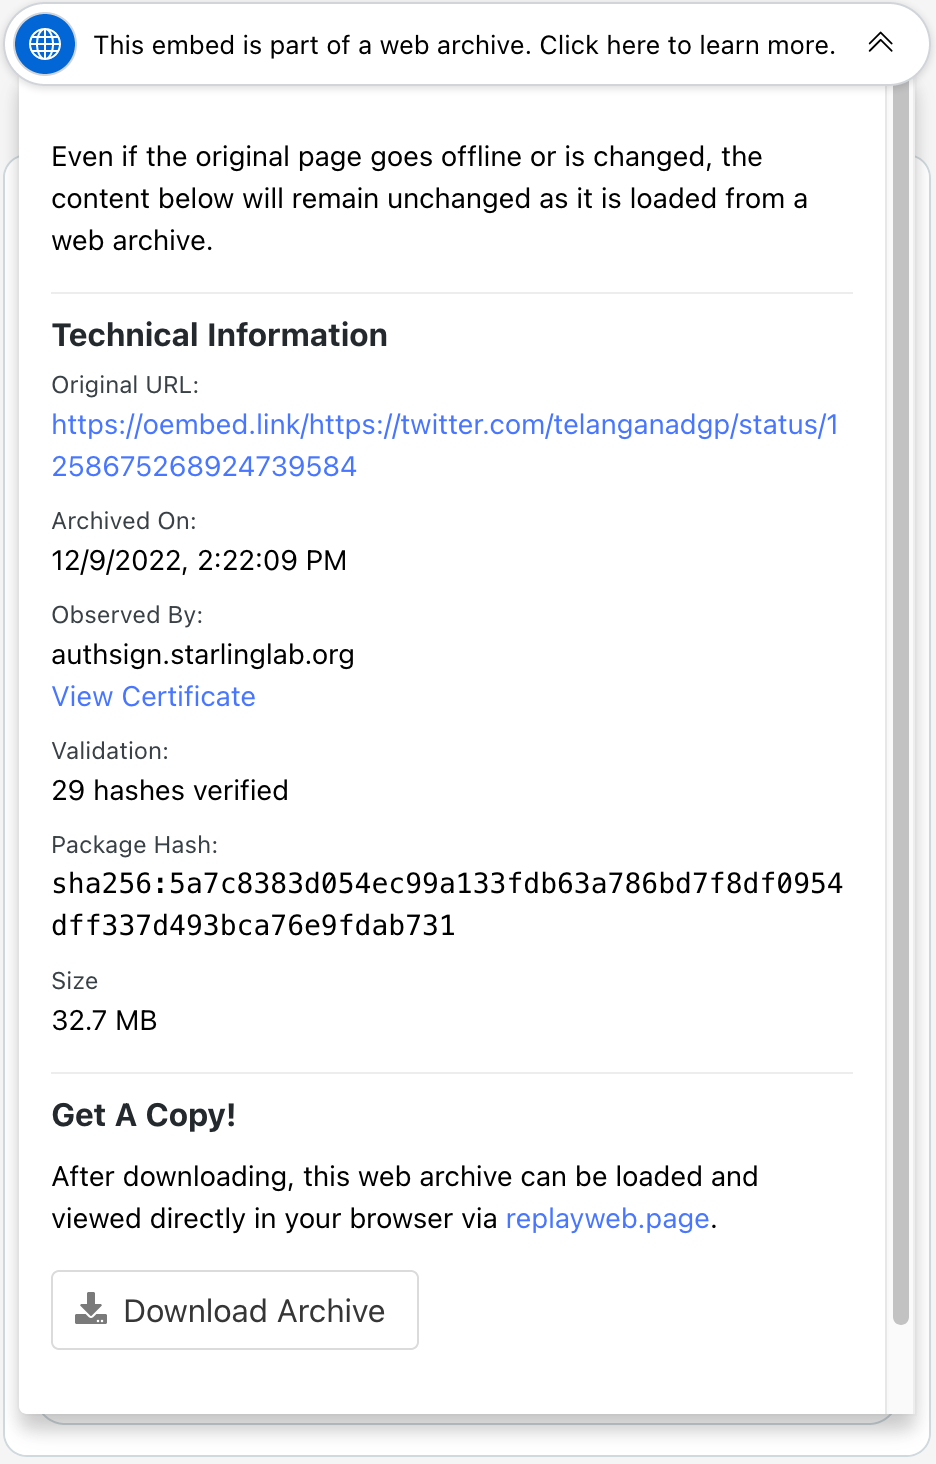
Screen capture of a tweet from TelanganaDGPScreen capture of the contents of 'click here to learn more'
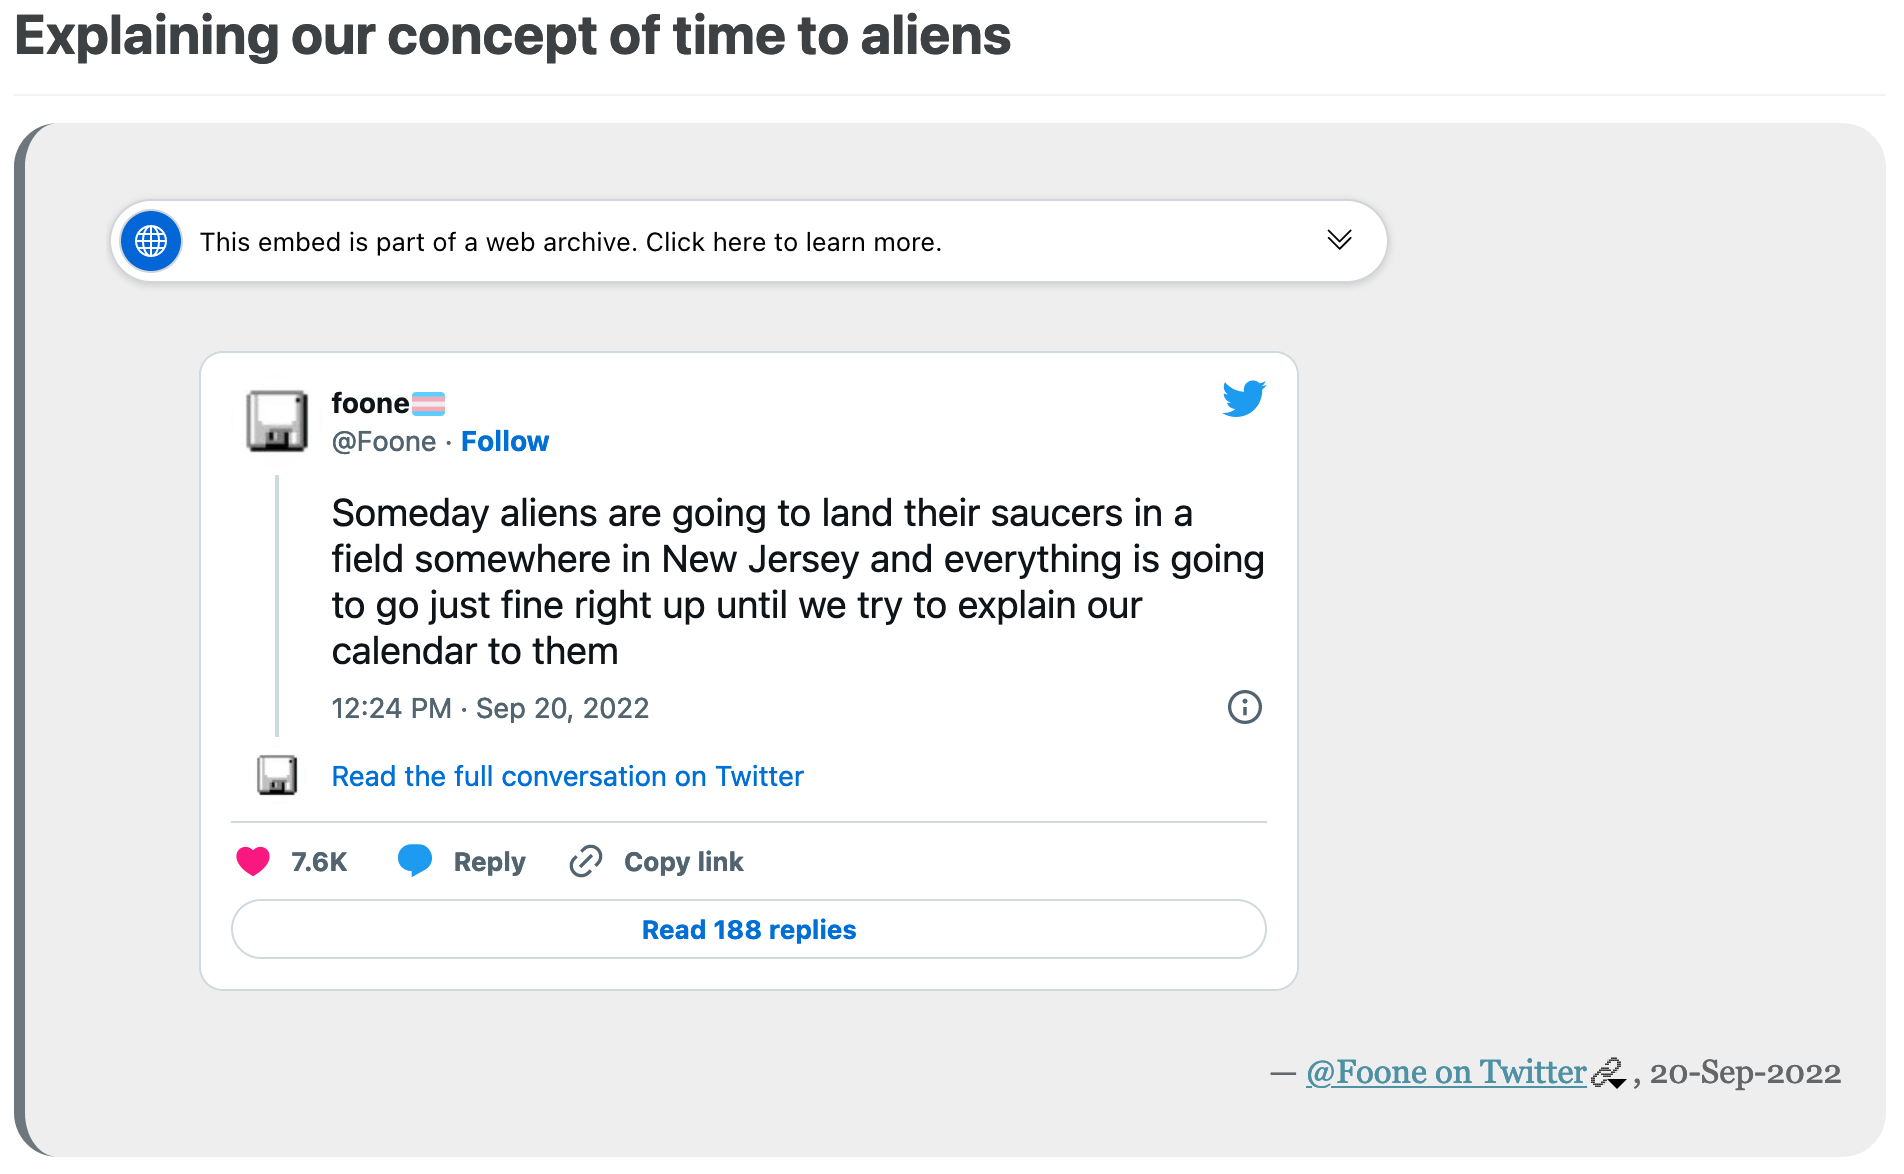
Screen capture from last week's DLTJ Thursday Threads on 'Explaining our concept of time to aliens'
This is how I did it...plus some helpful advice along the way.
Note! An earlier version of this post described how to setup and use Browsertrix to capture the web archive file. That information has been moved to the bottom of this post; instructions on how to use the desktop ArchiveWeb.page application are now included below.
Capture tweet with ArchiveWeb.page application
Our goal is to use ReplayWeb to embed a bit of the Twitter experience into a stand-alone web page.
(More on ReplayWeb below.)
That tool uses a WACZ file to do this; a WACZ file is the contents of a series of web pages—the HTML, images, Javascript...everything—wrapped up in a Zip file for easy transport.
We're going to use ArchiveWeb.page to make the WACZ file.
ArchiveWeb.page creates high-fidelity web archives as either a Google Chrome extension or a desktop application.
The desktop application is described as a beta version, but I'm going to use that instead of the Chrome extension because Firefox is my day-to-day browser.
Note! If you are only capturing one web page in your web archive, the browser-based express.archiveweb.page can be used to generate a WACZ file as well.
To get an isolated view of the tweet, we're going to use oembed.link.
"oEmbed" is a de facto standard for:
a format for allowing an embedded representation of a URL on third party sites. The simple API allows a website to display embedded content (such as photos or videos) when a user posts a link to that resource, without having to parse the resource directly.
The oEmbed is intended to be just the primary content of the page; it excludes toolbars, navigation elements, and other parts of the page framework.
A bunch of big sites support it: Twitter, TikTok, YouTube, Tumblr, Facebook, etc.
Many blog platforms support an oEmbed view by just putting the URL to the content you want to embed onto a line by itself.
(You might be using oEmbed without even knowing the name or technology behind it; see the documentation at WordPress, for instance.)
We're going to use oembed.link to get the same thing, but turn it into a web archive first.
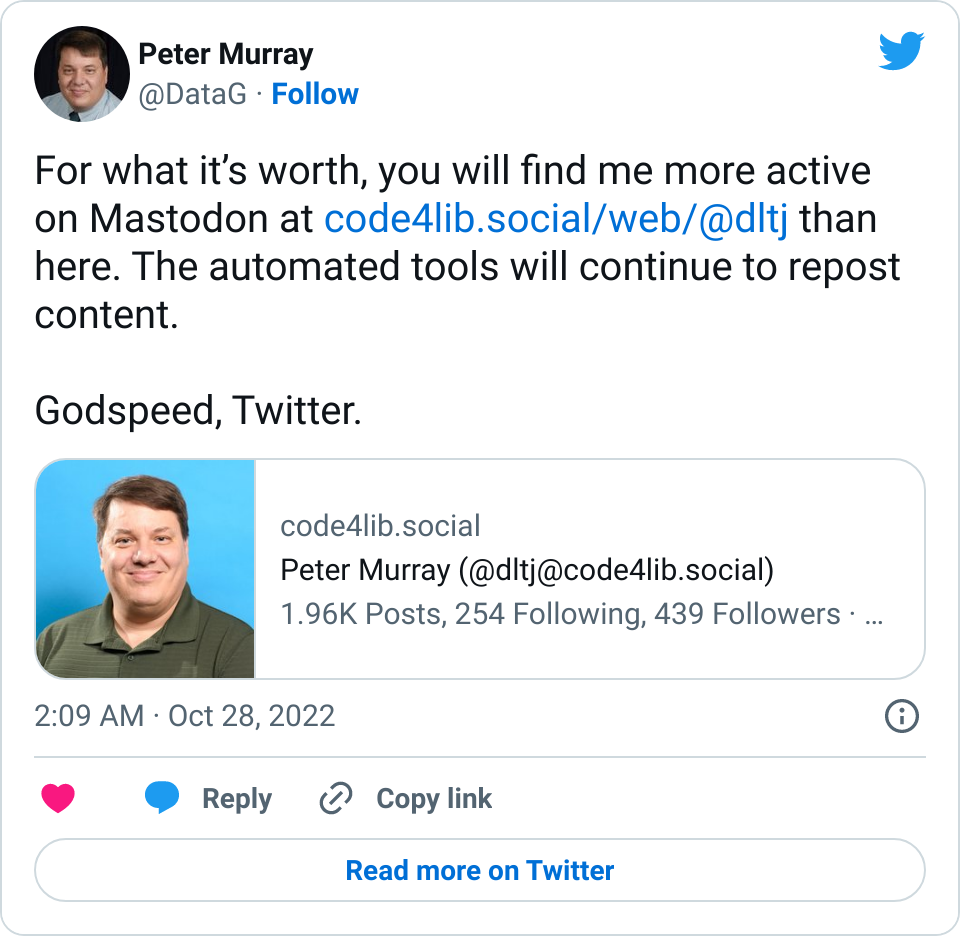
In this example, we are going to archive https://twitter.com/DataG/status/1585816108908662788, which in oembed.link looks like this.
When you open the extension or launch the application, you'll see these buttons.
Startup page for the ArchiveWeb extension and application.
Select "Create new...". This will create a new web archive; a single web archive can contain multiple web pages. Name the archive something meaningful...I use a combination of service, username, and identifier separated by dashes (so twitter-DataG-1585816108908662788 in my example).
Select "Start recording...". You are prompted for the name of the web archive (which we just created) and a text entry box for a URL. Put the "oembed.link" URL in that box and select "Go"; it will immediately be fetched and put into the web archive. There is also a checkbox to start in "Preview Mode" if you don't want your first URL added to the web archive.
A new window opens. Look for the ArchiveWeb button in the upper right corner. If the square is green, the web page has stopped loading and is fully recorded in the archive.
To record a second page, put the URL in the top box and press return. In my case, I'm also going to put the contents of the direct Twitter URL (without the oembed) into the archive as well. You can also click on links in the window...the contents of any page you view will be recorded in the web archive.
When you are done recording, select the ArchiveWeb button in the upper right and in the drop-down menu select "Stop". Then close this window.
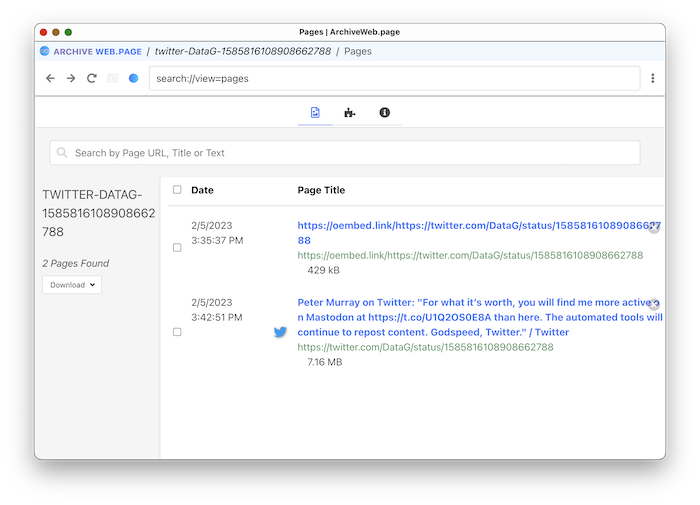
The ArchiveWeb screen shows your new web archive. Select "Download" then "Download all as WACZ" to get the web archive file.
View of the new web archive with two captured pages in ArchiveWeb.
First step done!
Embed the tweet archive onto a page
Next we're going to use
ReplayWeb to embed the captured archive in a mini-browser running inside our web page.
ReplayWeb reads the contents of the archive and dynamically injects the archived pages into the DOM as an <iframe>.
It is really cool.
The embedding ReplayWeb documentation is quite good, and I recommend reading it to see details of all of the options.
I'm choosing to self-host its JavaScript, so I downloaded the ui.js and sw.js files and put them in the "assets" directory on my blog's static site.
To embed the tweet, add the JavaScript and the <replay-web-page> tag to your HTML. For the DLTJ blog, that looks like this:
1 2 3 4 5 6 7 8 9101112
<scriptsrc="/assets/js/replayweb/ui.js"></script><replay-web-pagereplayBase="/assets/js/replayweb/"source="https://media.dltj.org/web-archive/twitter-DataG-1585816108908662788.wacz"url="https://oembed.link/https://twitter.com/DataG/status/1585816108908662788"embed="replay-with-info"style="height:27em;"></replay-web-page><noscript><imgsrc="https://dltj.org/assets/images/2023/2023-02-04-tweet-1585816108908662788.png"alt="...alt text for static image..."></noscript>
...which looks like this when rendered in the browser:
Some notes:
Line 3: Note the addition of the replayBase attribute. Since I'm self-hosting and I'm not putting the ReplayWeb JavaScript at the same location as the WACZ file, I have to explicitly tell ReplayWeb the location of the back-end service worker JavaScript file.
Line 5: The url attribute controls what is displayed from the archive. Remember that we archived two pages: the oembed.link page and the twitter.com page.
Line 6: There are several embed modes...the replay-with-info mode adds the header at the top that explains how this is a web archive.
Line 7: I'm having to use an in-line style to force the height of the embedded content to approximate the height of the tweet. My knowledge of modern CSS styling is quite weak, so there is probably a better way to do this...suggestions welcome!
Line 9: Just in case JavaScript is turned off (or if all of this ReplayWeb stuff breaks someday), inside a <noscript> tag there is a static image of the tweet as well. I use this Tweet Screenshot tool to make the image.
So that is all there is to it.
A little bit convoluted—especially the Browsertrix part to get the WACZ file—but on the whole not too bad.
There is a web forum for the Webrecorder community working on these ArchiveWeb and ReplayWeb, and that is probably the best place to go if you have questions or observations.
(I'm not a participant in that community—just a happy user of its projects.)
The link to the post on Mastodon is https://code4lib.social/@dltj/109804263650810404 and you just need to add /embed onto the end to get the oEmbed version:
That is probably better, really, because it isn't relying on an external service to get the content...it looks more legitimate.
Using Browsertrix to create a WACZ file
Browsertrix Cloud building a hosted service for organizations that want to have high-fidelity web archives, and it is also making its core code available as open source.
Its local deployment instructions instructions are really good, but one of the things that put me off was the Kubernetes requirement.
(Kubernetes is a highly-complicated, highly-robust tool for orchestrating the containers that make up a distributed application.)
Fortunately, the Browsertrix local deployment instructions point out that recent versions of Docker Desktop include Kubernetes as an optional component.
So I started with the four list items under the Docker Desktop (recommended for Mac and Windows) heading.
Docker Desktop (recommended for Mac and Windows)
For Mac and Windows, we recommend testing out Browsertrix Cloud using Kubernetes support in Docker Desktop as that will be one of the simplest options.
From the Dashboard app, ensure Enable Kubernetes is checked from the Preferences screen.
Restart Docker Desktop if asked, and wait for it to fully restart.
Install Helm, which can be installed with brew install helm (Mac) or choco install kubernetes-helm (Windows) or following some of the other install options
kubectl wait --for=condition=ready pod --all --timeout=300s
Go to localhost:30870/ and sign in with admin@example.com with PASSW0RD! as the password.
Tip: the first time I ran helm upgrade ..., the back end timed out waiting for the database container to download and start.
I saw this because the default username/password was not accepted.
The solution was to helm uninstall btrix and kubectl delete pvc --all then run the helm-upgrade command again.
For the second helm upgrade ..., the container images will have been already downloaded and cached, so the initialization will happen as expected.
From the main Browsertrix page, select "All organizations" in the upper right corner and pick "admin's Archive".
Select the "Crawl Configs" tab.
Select "New Crawl Config" then select "URL list"
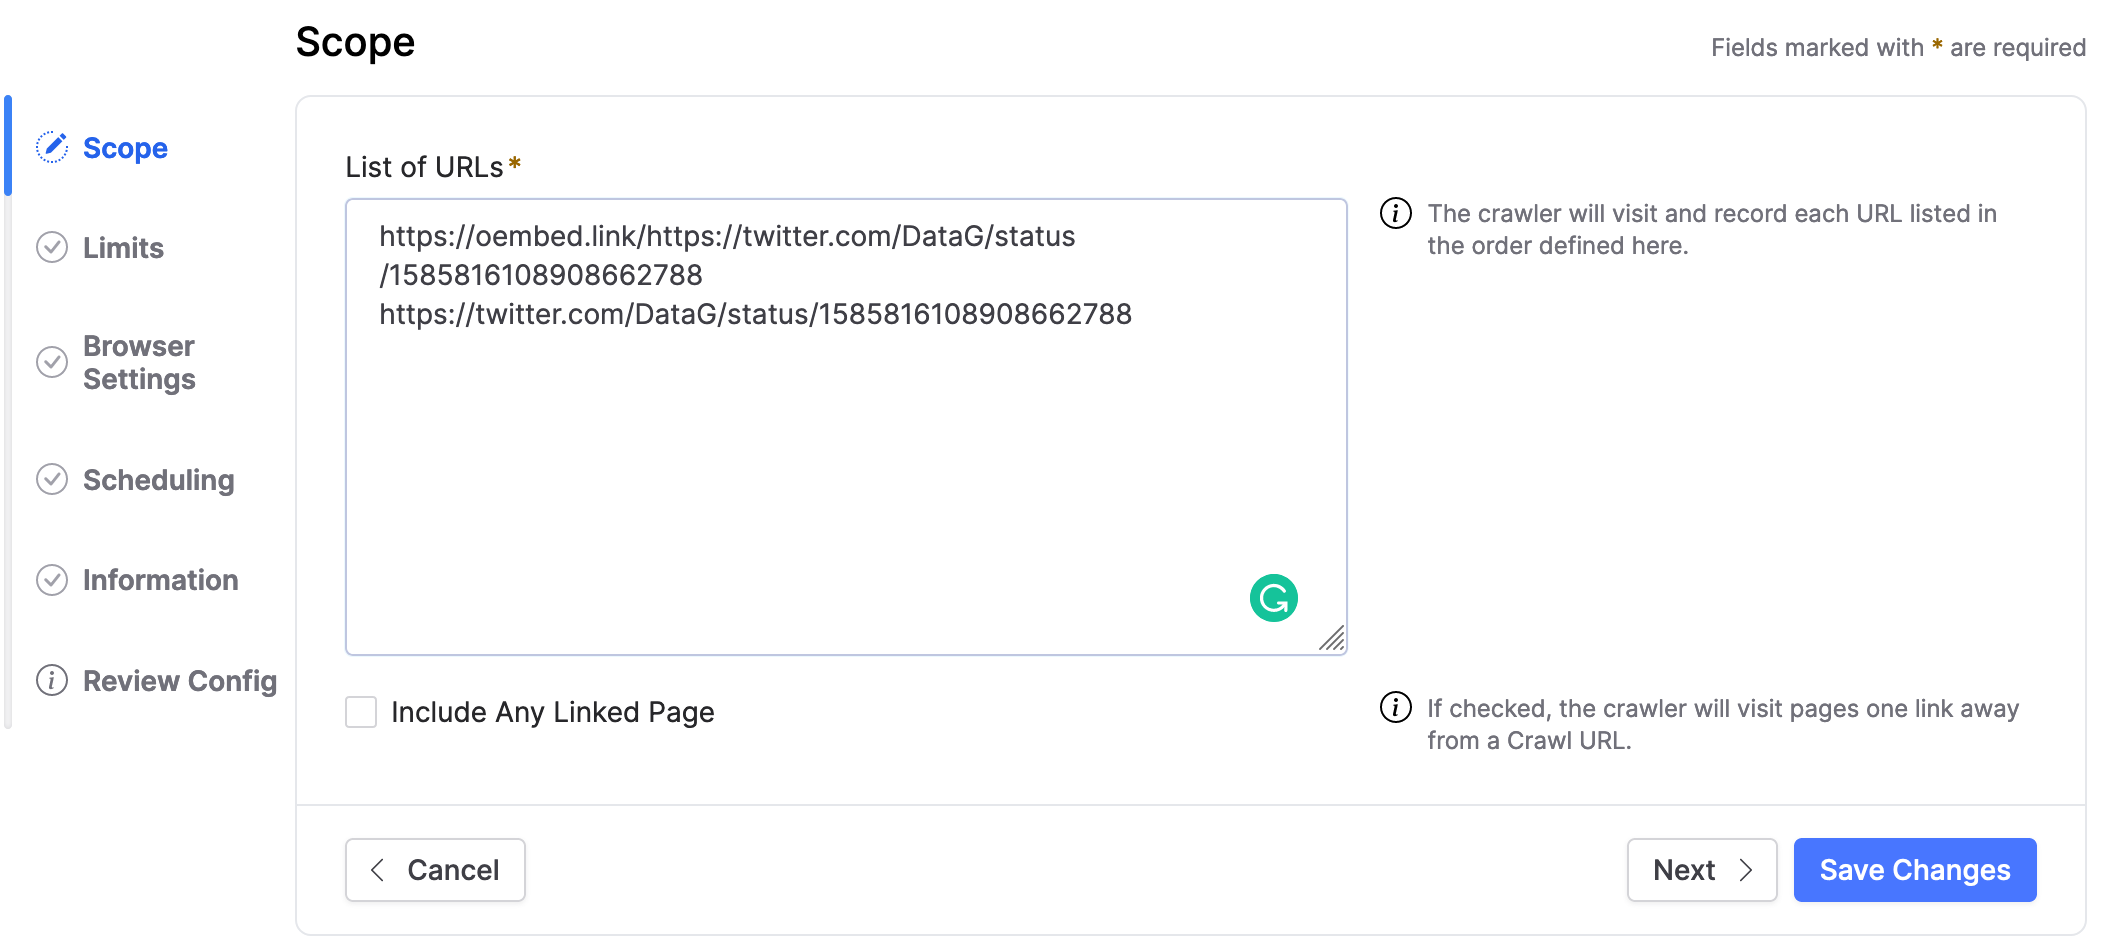
In the "Scope" tab that comes up, put the oembed.link URL into the text box. For the sake of completeness, it probably also makes sense to put the original Twitter URL in the text box for archiving as well. See screenshot below.
The settings in the "Limits", "Browser Settings", and "Scheduling" tabs can remain unchanged. (Or experiment!)
In the "Information" tab, I use a more meaningful name than the first URL captured. For instance, to capture the https://twitter.com/DataG/status/1585816108908662788 tweet I set it to "twitter-DataG-1585816108908662788" — the origin website, account, and identifier separated by dashes.
Select "Review & Save" then "Save & Run Crawl"
Screen capture of the crawl configuration 'Scope' page from Browsertrix.
As the web archive capture starts, you'll see the running status.
My tweet crawl took about a minute to run.
When it is done, the "Files" tab will have a link to your WACZ file.